
Cute Girls Bedroom Ideas And A Fun DIY Ice Cream Cones Craft Based On The Adorable Pillowfort Set At Target!
Cute Girls Bedroom IDEAS!
After we moved into this house the kids finally both got their own rooms! Reese had this quilt from Grammy from birth that is my favorite ever, so I knew we needed to start with those colors. Otherwise, I was looking up all the cute girls bedroom ideas for what we could do that would grow with her. Without meaning to, I stumbled on Target’s new Pillowfort line and I about lost my lunch looking at all the freakin cute things!
When we got there, the flamingos were gone and the adorable ice cream that perfectly matched her quilt was there. It fits her so well, and she pretended to lick her sheets and giggled all night as we were attempting a quiet bedtime routine.
Dear Target, if I didn’t love you so much, I’d hate you fiercely.
Ice Cream Cones!
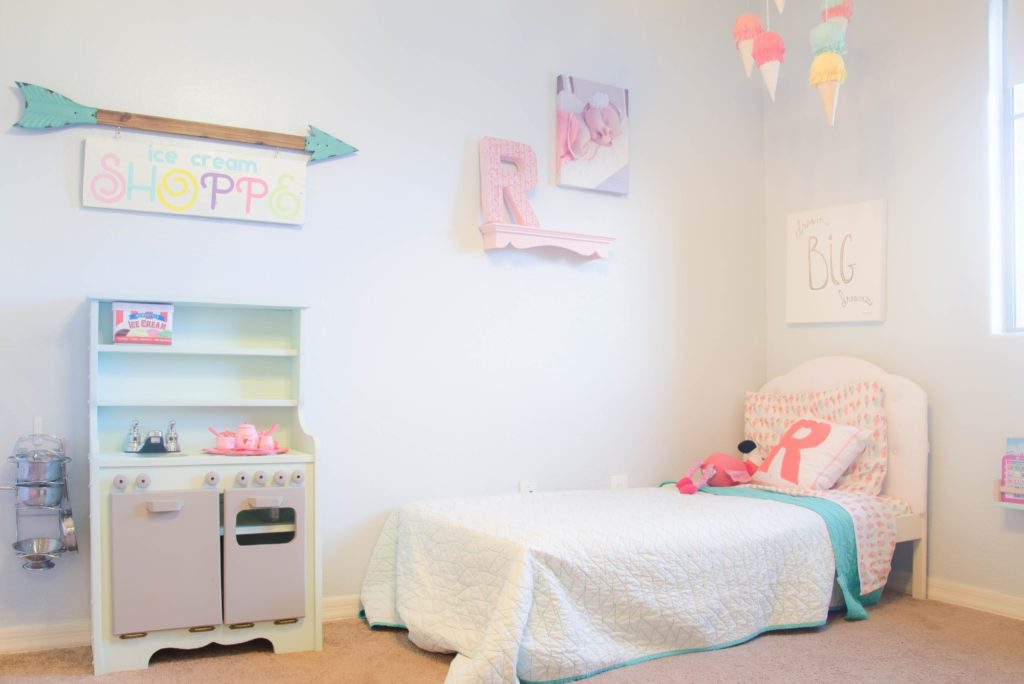
So here’s a preliminary shot of her bed. Nothing else on the walls, (because yes, we made ice cream cones before we did anything else) but I wanted to make some ice cream cones to hang in the room since she also has an adorable little kitchen that I am going to paint and set up like a little ice cream parlor.
Take note of the plain jane bed too, cause we have done a lot in here! (See below!)

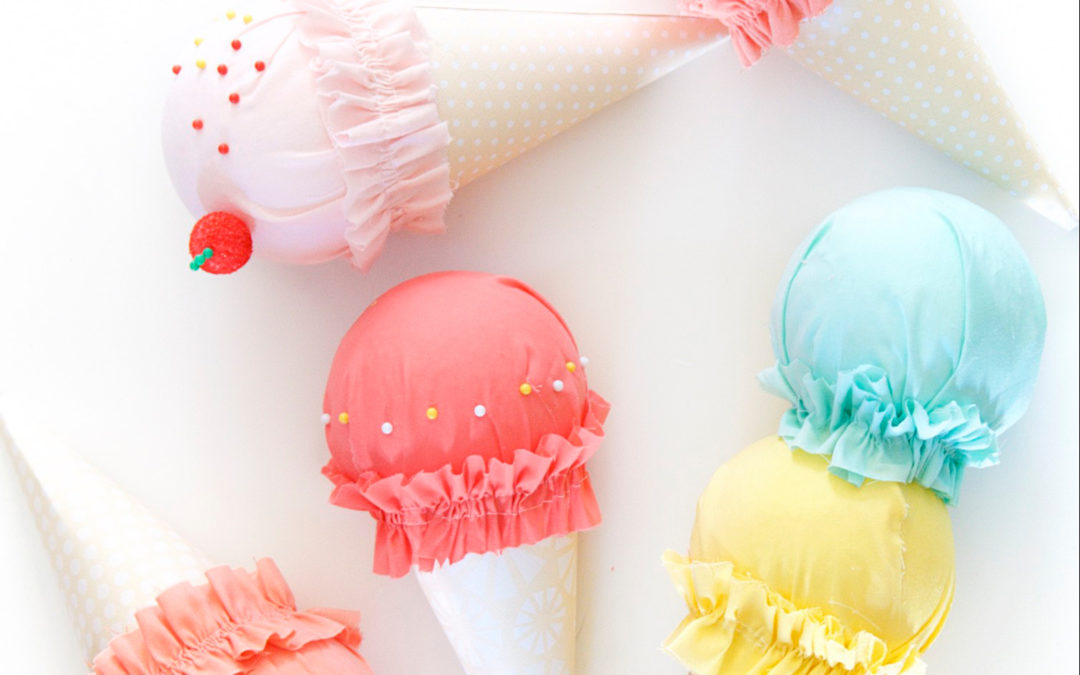
How to make Ice Cream Cones (out of fabric, that is)
What you’ll NEED:
· styrofoam balls
· about 1/3 yard per color of fabric
· glue
· straight pins
· hot glue gun
· paper
· sewing machine.
{batting is optional.}
I also got a few little styrofoam balls to make a cherry. I wanted to try and copy the look of the ice cream on the sheets and I took them with me to match the colors exactly.
Here’s a quick printable ice cream cone template
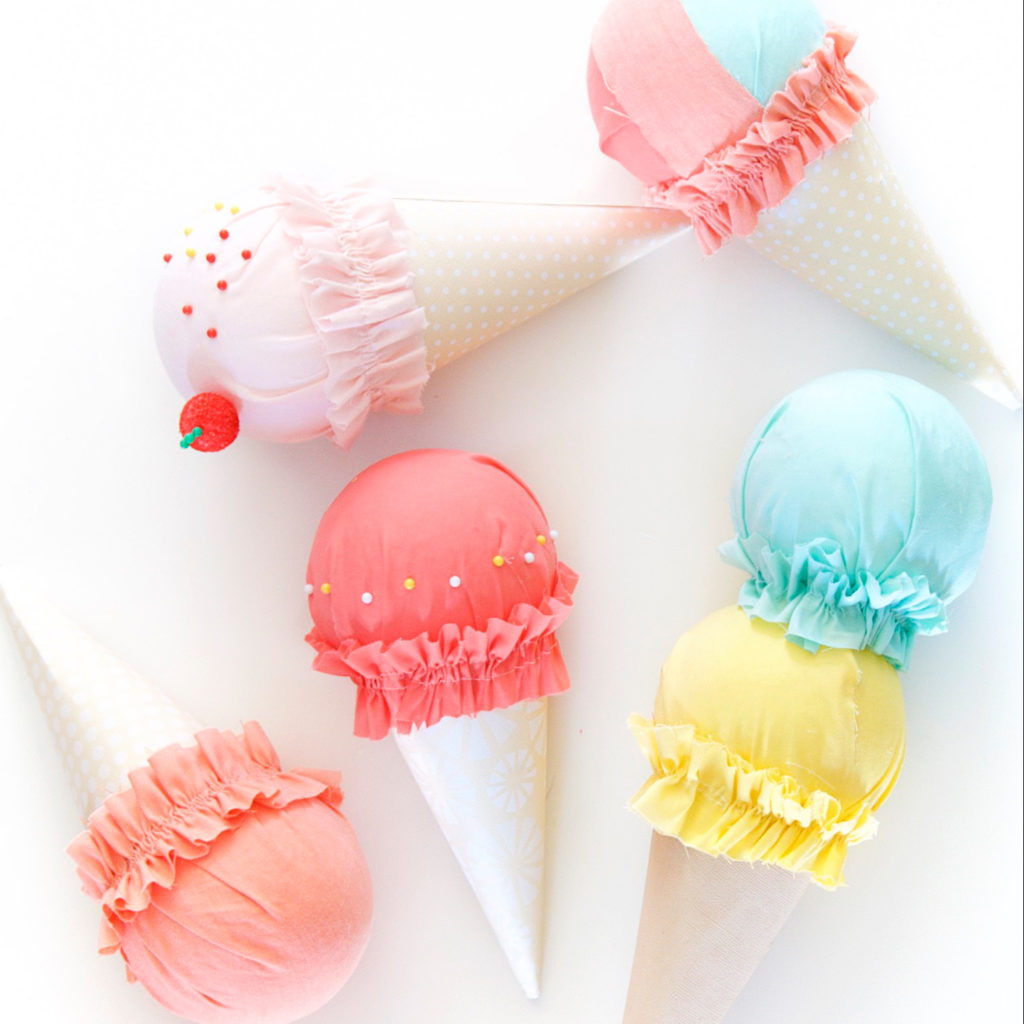
- Cut out the cones and glue them together. Fill the ends with batting to help hold the shape. Then cut a square of fabric big enough to cover each large ball and start hot gluing. Make sure that you pull the fabric tight and space out the pleats around the ball.
- Then hot glue the cone to the ball. Cut about a 1.5-2 inch strip of each fabric and sew a quick ruffle. {If you haven’t done ruffles, just change the length of your straight stitch on your machine to about 4 or 4.5 and don’t tie it off on either end. Make 2 lines of stitching, about 1/4 inch apart, and then while holding onto only two of the top strings, gently slide the fabric down to create the ruffle.}
- Once you have a strip long enough, you can hot glue it on to cover the seam between the paper and fabric on your ice cream. I just painted a mini styrofoam ball to make the cherry and then pinned it on with green pins.
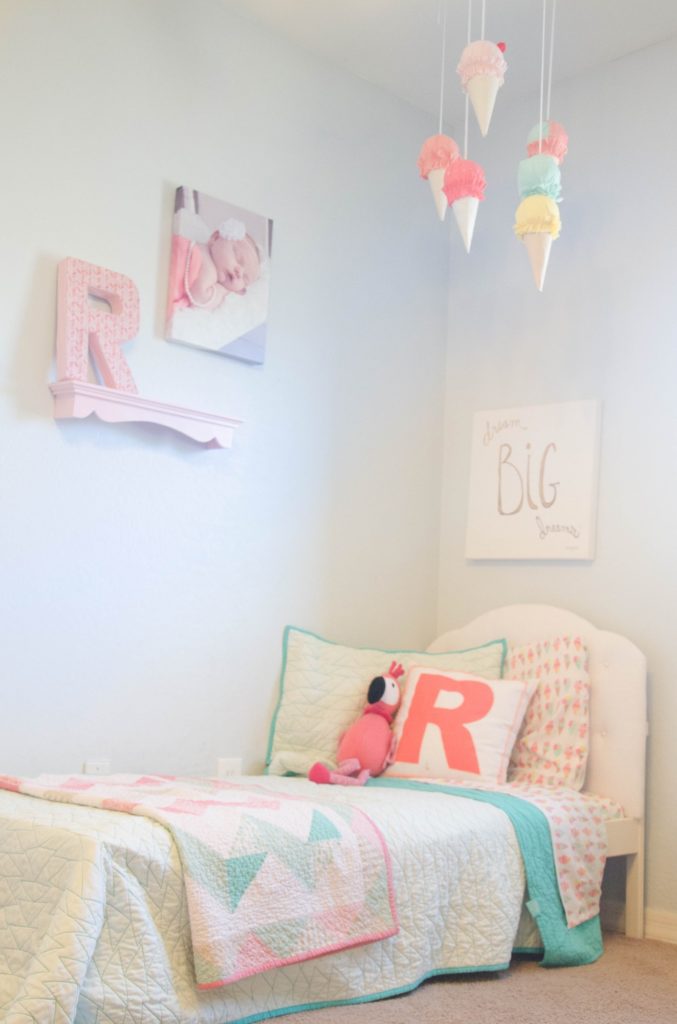
They look so adorable hanging up in my daughter’s room don’t you think?!!
(Edited with a more current photo of her room with the walls dressed up and the new headboard we made.)
